

Now that you have created your queue, you are going to want to have work directed to it automatically. That is where Routing Rules can be used.
Points to Consider:
Creating Routing Rules
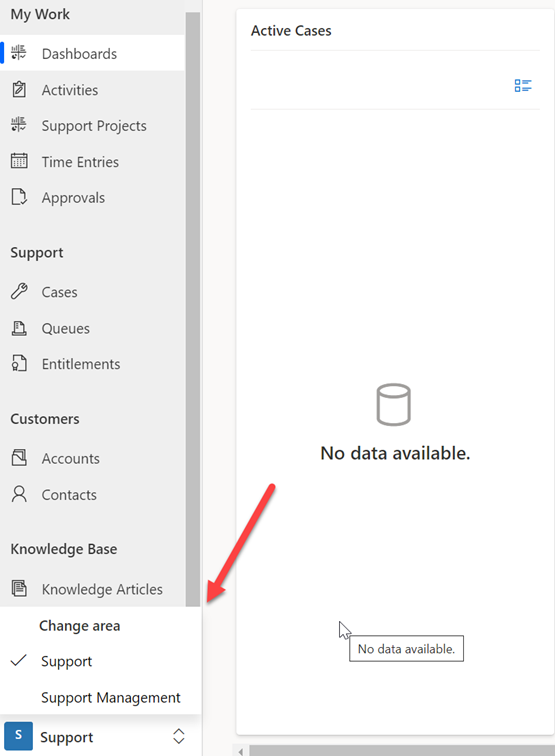
Routing Rules are used to automatically route cases to certain queues based on set criteria. To create a routing rule set, First change your area from the Area Picker located in the bottom left-hand corner from Support to Support Management.
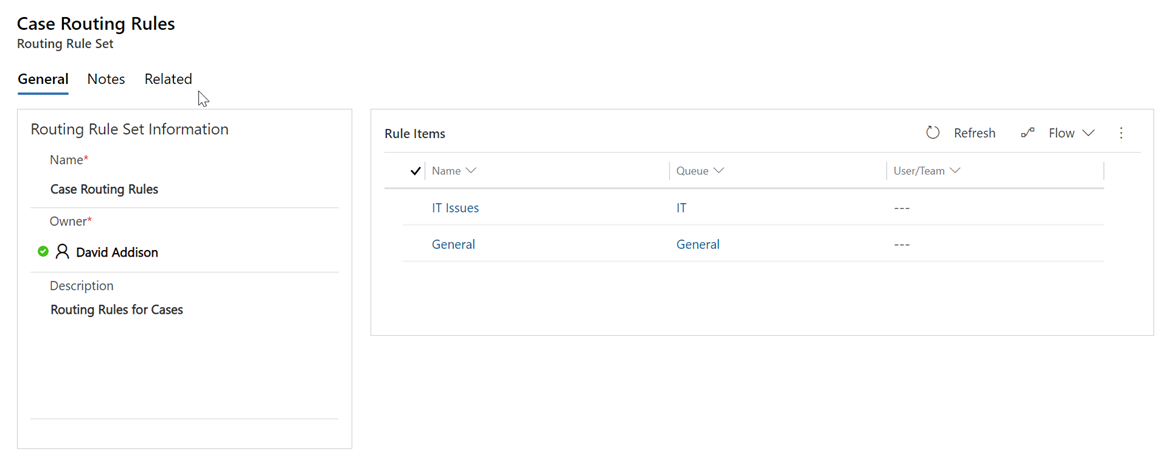
Now that you are on the Support Management area, Select Case Settings > Routing Rule Sets.
*Note: Only one routing rule set can be active at any point of time. If you try to activate another rule set when one rule is already active, it will deactivate the currently active rule.
*Note: You will not be able to add a New Rule Item unless your current Rule Items are Deactivated. To Deactivate, click on the Deactivate button at the top of the page.

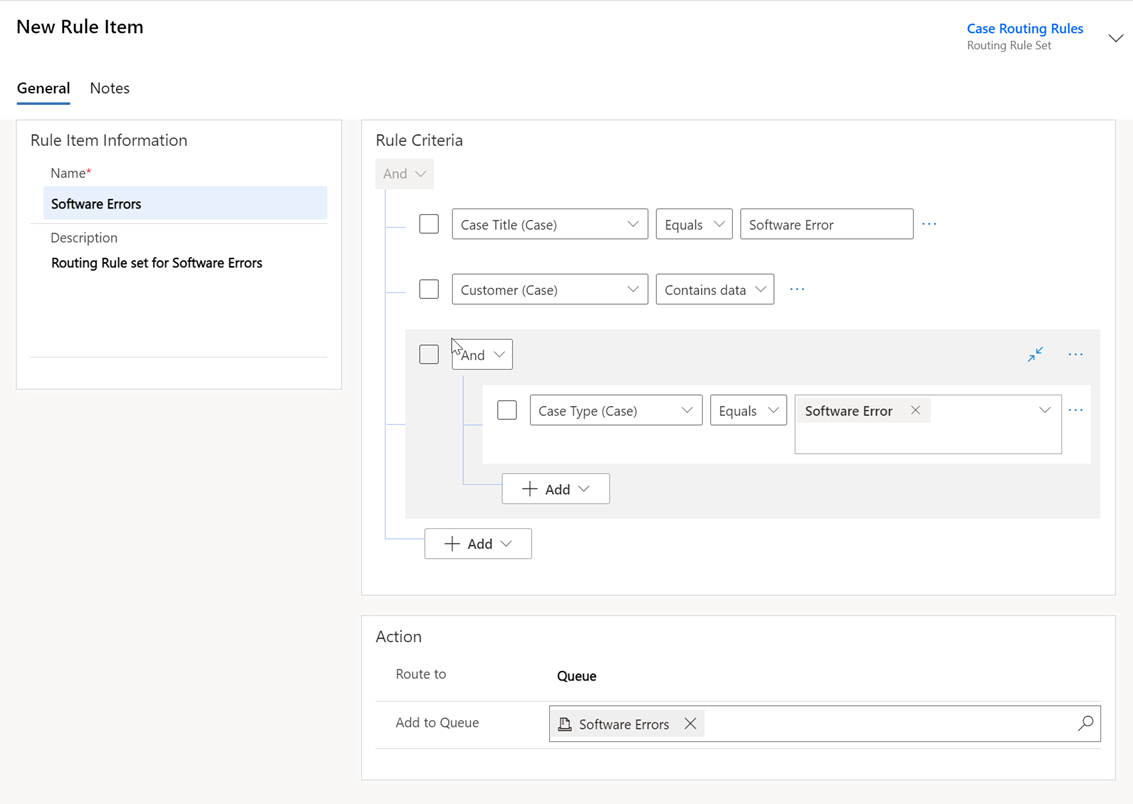
Example:
Let us say you would like to direct all specific cases from customers related to Software Errors to Specific queue dedicated to those types of issues. The rule item can then be configured as shown in the screenshot below.
*Note: If you want to edit an active routing rule set, you must deactivate it first.
Points to Consider:
- When creating routing rule sets, you can add multiple rule items and arrange them in the required order.
- The rule items are evaluated in order (Top to Bottom).
- If a rule item is evaluated as True, the case gets routed to the destination and skips further evaluation.
- If a rule item is evaluated as False, further rule items are evaluated.
Creating Routing Rules
Routing Rules are used to automatically route cases to certain queues based on set criteria. To create a routing rule set, First change your area from the Area Picker located in the bottom left-hand corner from Support to Support Management.
Now that you are on the Support Management area, Select Case Settings > Routing Rule Sets.
*Note: Only one routing rule set can be active at any point of time. If you try to activate another rule set when one rule is already active, it will deactivate the currently active rule.
- To create a new routing rule set, select +New on the command bar.
- On the General Tab, in Routing Rule Set Information, Enter Name and Description for the routing rule set.
- Select Save. The routing rule set is now saved, and the Rule Items section is displayed.
- In the Rule Items section, select New Rule Item. The New Rule Item dialog box appears in which you can specify conditions that will be evaluated for routing cases to a queue, an agent, or a team.
*Note: You will not be able to add a New Rule Item unless your current Rule Items are Deactivated. To Deactivate, click on the Deactivate button at the top of the page.
- In the General tab, in Rule Item Information, enter a Name and Description.
- In Rule Criteria, you can specify the conditions in one or a combination of the following to be evaluated for routing cases:
- Add Row: Select … to group multiple rows of conditions into one group.
- Add Group: Select … to ungroup a group of conditions.
- Add related entity: Select to add a condition for a specific entity.
- In Action > Route to, Select queue or user/team.
Example:
Let us say you would like to direct all specific cases from customers related to Software Errors to Specific queue dedicated to those types of issues. The rule item can then be configured as shown in the screenshot below.
- Select Save & Close to save and close the rule item.
- Activate your Routing Rule Set! In the Routing Rule Set record, select Activate. The rule set is now applied to case that match the conditions in the rule.
*Note: If you want to edit an active routing rule set, you must deactivate it first.